Watch the quick installation guide for Leadax Original.
▶
YOUTUBE VIDEO 02
Video link to be added
Leadax Easy FA
Watch the quick installation guide for Leadax Easy FA.
A reliable connection starts with correct installation.
Use the guidelines for your chosen product and always follow the current installation instructions for your application. Both products should be installed above 5 °C, on a substrate that is dry and free from dust and grease.
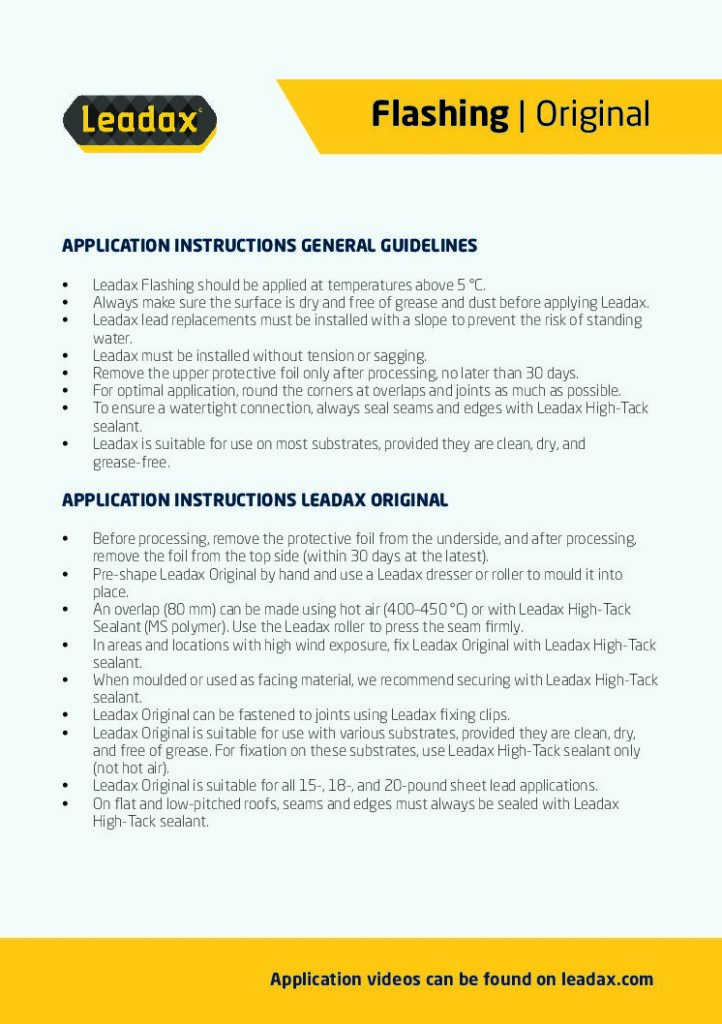
Leadax Original
Install Leadax Original at temperatures above 5 °C. Ensure the substrate is dry and free from dust and grease.
Lay the material to a fall, without tension or sagging. Round off corners at connections and overlaps wherever possible.
Form 80 mm overlaps using Leadax High-Tack sealant or hot air. The recommended welding temperature is 400–450 °C. Press the seam with a Leadax roller.
Secure Leadax Original with Leadax High-Tack sealant in areas exposed to wind. Fixing is also recommended where the material is dressed into tile profiles or used as stepped flashings.
Seal joints and edges with Leadax High-Tack sealant.
Use Leadax fixing clips to secure the material in mortar joints.
Pre-form by hand, then use a dresser or roller to finish shaping the material.
Remove the protective film from the underside before installation. Remove the film from the upper surface after installation, within 30 days.
Use only Leadax High-Tack sealant to secure the material to underlying roofing materials. Do not use hot air for this purpose.
Leadax Original is suitable for Code 5 lead applications. On flat and low-pitched roofs, fully seal all joints and edges with Leadax High-Tack sealant.
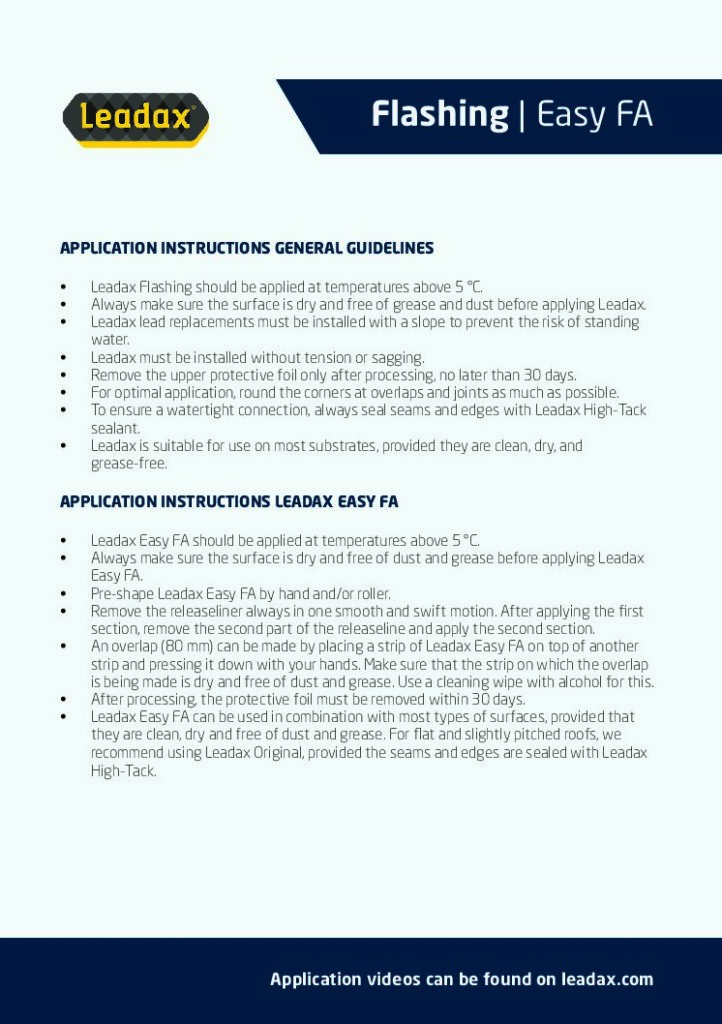
Leadax Easy FA
Install Leadax Easy FA at temperatures above 5 °C. Ensure the substrate is dry and free from dust and grease.
Pre-form the material by hand and/or with a roller. Lay it to a fall, without tension or sagging.
Remove the first part of the release liner in one smooth movement. Apply that section and press it firmly into place. Then remove the second part and apply the remaining section.
Form 80 mm overlaps. First clean the lower strip with an alcohol wipe. Lay the upper strip over it and press firmly with a roller.
Seal joints and edges with Leadax High-Tack sealant to create a watertight connection.
Remove the protective film from the upper surface after installation, within 30 days.
Easy FA is suitable for most roofing materials when the substrate is clean, dry and free from grease. For flat and low-pitched roofs, we recommend Leadax Original with all joints and edges fully sealed. Use Original for applications requiring fixing clips, too.
Tools and accessories
Leadax High-Tack sealant: MS polymer adhesive sealant developed and tested for Leadax. Use it to secure Original and seal joints and edges on both products.
Leadax scissors: cut the material to size for straight strips and detailed work.
Leadax roller: shape the material to roof tiles and press connections and overlaps firmly into place.
Leadax dresser: shape the material around flashing details, following the installation instructions.
Leadax fixing clips — Original only: secure Original in mortar joints during the remaining installation work. Choose Original for applications requiring fixing clips.